How to Install a Mixer Tap on Your Kitchen Sink?
Feeling fed up with your stiff old sink tap that squeals every time you use it? You're not alone. A leaking or outdated tap can waste time, jack up water bills, and make daily kitchen tasks feel more like a chore than a routine.
Getting a new mixer tap installed sounds like a breeze - until the tools come out and fittings don’t match. It’s easy to get stuck midway or damage something under the bench if you're not prepared.
That’s where we help. At Convenient Plumbing Services, we make upgrades stress-free for Townsville locals who just want the job done right.
Choosing the Right Mixer Tap
Picking a tap shouldn’t feel like choosing a car engine. But with so many styles, it often does. Let’s break it down simply so you can decide what works best in your kitchen without second-guessing everything later.
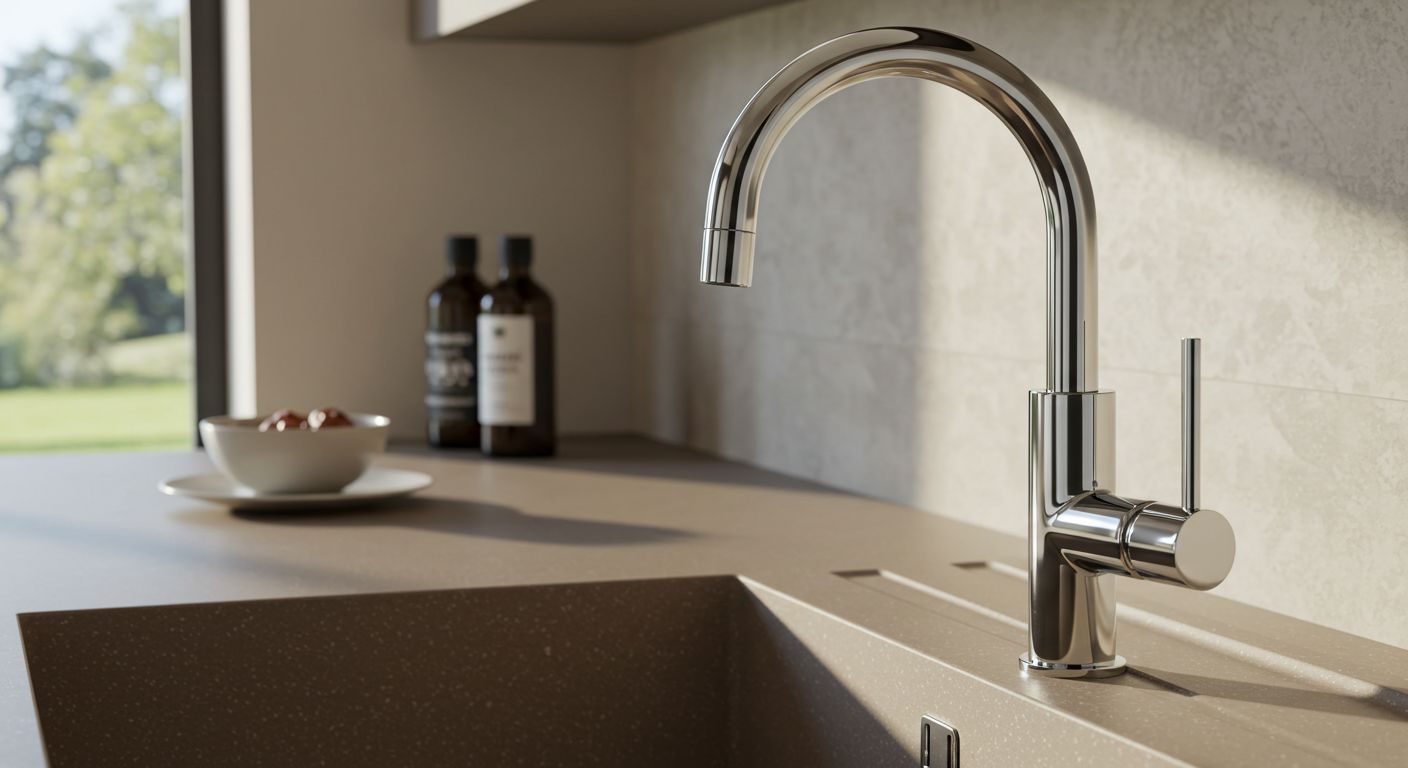
Types of Mixer Taps
The classic standard swivel spout tap is reliable and suits most sinks. Pull-out spray mixer taps offer flexible cleaning and are perfect for larger sinks or busy kitchens. Wall-mounted taps save bench space, making them a good choice for minimal layouts. Each type offers a unique benefit, depending on how you use your kitchen on a day-to-day basis.
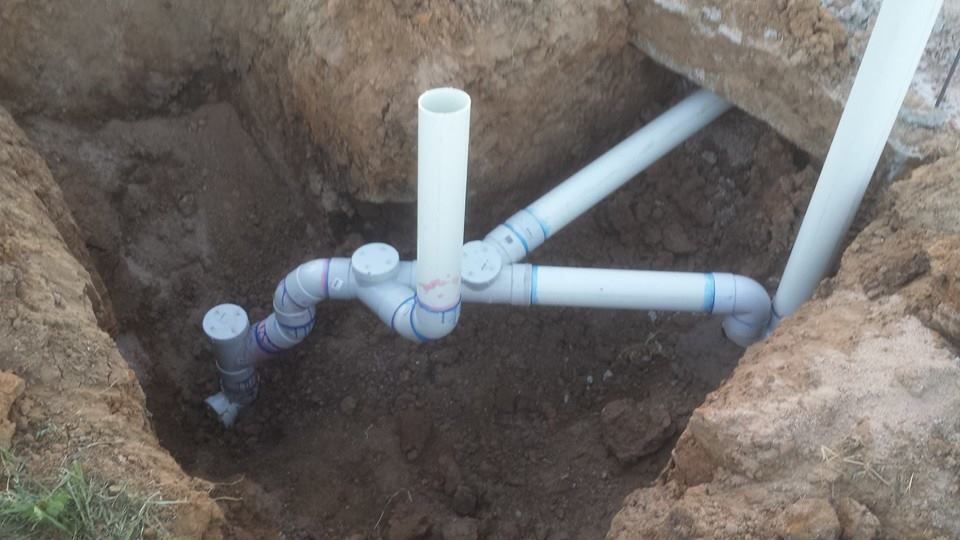
Compatibility With Sink
Before buying, get under the sink and check your hole spacing and pipe setup. Some benches use single openings while others might have three. If you're upgrading, water pressure and pipe size become the next big deal - some taps won’t flow well on low-pressure systems. A quick measure and inspection now avoids disappointment during installation.
Mixer Tap Kits and Features
Single-lever models are great for one-hand use, especially when cooking. Twin-handle mixer taps give more control over hot and cold flow. Kits that come with flexible hoses and installation fixings make the process far easier. Look for sets with clear instructions and all parts included to avoid extra trips to the store.
Gathering Tools and Materials
A little prep goes a long way to keep your kitchen from turning into a plumbing battlefield. Pull together your tools and double-check your parts before anything gets loosened or cut.
Essential Installation Tools
You’ll need a trusty adjustable wrench, a bucket for leftover water, a flathead screwdriver, and a roll of plumber’s tape. These are basic tools, but they prove essential every time. Having them ready means fewer struggles once you're under the sink connecting everything up.
Recommended Accessories
If you're starting fresh or dealing with older plumbing, grab stop valves and a mounting bracket. Sealing washers often help seal minor gaps and prevent leaks. These extras cost little but save a lot of time and frustration during the tightening process.
Safety and Workspace Preparation
Turn off your water supply completely. Then open your current tap to drain any lingering water. Clear out the under-sink area - removing clutter gives needed space to work, especially if you're lying on your back trying to see behind pipes.
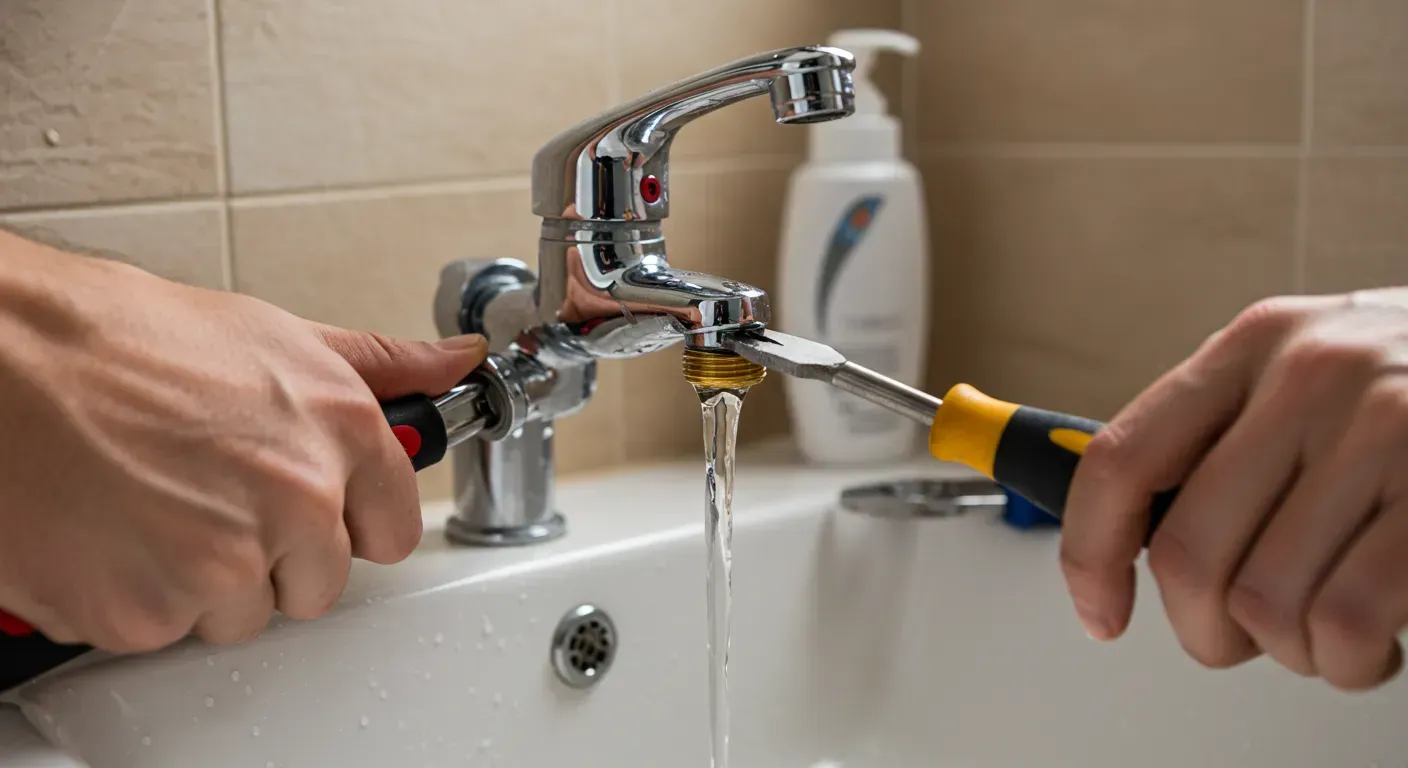
Removing the Existing Tap
Out with the old, but make it smooth and clean. Removing a mixer tap requires patience and the correct procedure. Don’t force it - work methodically for best results.
Draining and Disconnecting
Twist both taps open fully to release pressure. Then disconnect the water hoses using your wrench. Set a towel or bucket underneath to catch any leftover water so it doesn’t spill out unexpectedly and soak the cupboard base.
Removing Fixings
Reach up from under the sink and use your wrench to unscrew the mounting nuts. It can take some time if the fittings are tight or rusty. Once loose, you can lift the old tap straight up and out from the top of the sink.
Cleaning the Sink Area
Use a cloth to wipe away any old sealant or grime. A clean surface helps the new tap seal tightly and sit flush against the surface. Dry it fully with a towel before placing anything new on top. A clean base means fewer chances of future leaks.
Installing the New Mixer Tap
All clear and time to place the hero of the kitchen. With a steady hand and clean sink, your new tap will fit like a glove. Follow the order below for a smooth success.
Assembling the Mixer Tap
Insert connectors tightly into the mixer tap and slide washers into place. Wrap plumber’s tape clockwise around threaded sections. This keeps the joints watertight and makes them easier to remove again later if ever needed.
Inserting and Securing the Tap to the Sink
Feed the water hoses through the hole in your sink. Align the tap base properly before securing it with the provided bracket and mounting nut. Tighten using a wrench until snug, but not overly tight. Over-tightening can damage the sink surface.
Connecting the Water Supply
Join the hot hose to the hot pipe and the cold to the cold. Hand-tighten the connections first, then secure with a wrench. Always double-check that hoses are kink-free and untwisted before proceeding to the next step. This prevents unexpected flow or restriction problems later.
Testing for Leaks and Adjustments
This stage could save you a weekend of puddles and panic. Turn, observe, and feel for any surprises. A little attention here pays off plenty.
Turning Water Back On
Open the isolation valves slowly and carefully. Watch every connection point for drips or gurgles. If anything dribbles immediately, shut the water off again and recheck the fitment or washer placement.
Checking Tap Operation
Turn the handle side to side and lift to test pressure. Watch for smooth temperature shifts. If you've chosen a pull-out feature, test the spray function over a basin to prevent splashing onto nearby surfaces.
Minor Leak Fixes
If you spot a slow drip or weep, unscrew the connection, add more plumber’s tape, and try again gently. Don’t overcrank. Soft fittings can crack if pushed past their limit, leading to further issues.
Clean-Up and Final Touches
You’re nearly done. A little wipe and check, and your kitchen feels fresh again - without any clutter or chaos left behind.
Cleaning the Area
Remove tool clutter, tape pieces, packaging, and used rags. Use a damp cloth to clean around the sink and tap gently. Avoid harsh chemicals on the tap surface - they can ruin the finish. A soft polish makes it gleam like new.
Finishing Checks
Make sure the tap sits straight. Check that it swivels without resistance and that there are no shaky movements at the base. Everything should feel firm, steady, and ready for daily action. That’s your cue - you’re all set!
Maintenance and Troubleshooting Tips
New taps don’t mean forgotten taps. A small check now and then can prevent big headaches later. This keeps your flow, pressure, and cleanliness in top shape.
Regular Maintenance
Check under the sink monthly to ensure no connections are damp. Clean the aerator quarterly to maintain a strong water flow. Sediment or build-up can cause weak pressure over time.
Common Mixer Tap Issues
If water starts leaking around the tap base or handle, it could be a faulty washer. Low water pressure from the tap usually signals a blocked aerator or pipe issue. Don’t ignore trickles - they signal early warning signs.
Easy Repair Solutions
Most issues, such as stem or base leaks, can be resolved by swapping worn O-rings or tightening a fitting. Blocked taps often just need a clean. If rust or serious wear appears, contact us for a proper repair or replacement.
FAQs
Are mixer taps easy to install at home?
They can be with the right tools and patience. But professional help ensures proper sealing and no pipe damage. We handle installation quickly and safely to save time and effort.
How do I remove a mixer tap without visible screws?
Drain blockages are one of the most common plumbing issues. Routine cleaning prevents buildup and keeps drains flowing smoothly.
Does every mixer tap fit every sink?
No. Sinkhole spacing, water pressure, and connection types vary. We assess compatibility during installation to avoid surprises. Our installers always check proper fit before anything gets drilled or sealed.
What is the cost of mixer tap installation?
It depends on the tap style and plumbing setup. We offer clear quotes in 24 hours - if not, we give $100 off. Price includes parts, tidy-up, and guaranteed alignment. No guesswork involved.
Can I do a mixer tap conversion from dual taps?
Yes, but it needs plumbing alterations. We convert dual to mixer taps often in older homes. We’ll evaluate your current plumbing and explain step-by-step what’s needed for safe conversion.
Should I consider professional help for complex installs?
Absolutely. Tight spaces, low water pressure, or specialised tap designs can be tricky. We perform detailed assessments and bring top-tier tools. Our licensed team guarantees clean installs with long-term reliability.
Messy Sinks, Missed Moments - It Doesn’t Have to Be This Way
Turning on your kitchen tap shouldn’t trigger frustration. A simple upgrade can bring instant relief and daily ease.
No more wrestling with separate hot and cold - now it’s just smooth control at your fingertips.
Once the mixer tap is in, everything just works better - cleaner lines, easier washing up, and a happier kitchen space.
It’s a quick change with a big impact that saves time and gives back comfort to your routine.
At Convenient Plumbing Services, we make tap installation easy, clean, and stress-free for every home in Townsville.
Reach out today and let’s sort your tap troubles for good.