How to Fix a Leaky Tap Without Turning Off The Water?
If you've ever been woken up by that frustrating drip, drip, drip - when all you want to do is try to get some rest, you're not alone - it's maddening!
Many just put up with it, thinking turning off the main water is the only fix - until more damage piles up. Fixing a leaky tap while the water’s still on sounds like magic, but it's doable with the right approach. What trips most people up is not knowing where to start - and nobody wants to risk a bigger mess.
For Townsville locals juggling home needs or managing busy properties, you shouldn't have to stress over plumbing. At
Convenient Plumbing Services, we’ve got the tools, the skill, and the know-how to help fast - no water shut-off drama required.
Safety Considerations Before You Start
Before reaching under the sink, it’s worth pausing for a quick safety check to avoid avoidable messes or shocks.
Working with flowing water adds pressure - literally and figuratively. Good preparation makes all the difference.
Assess the Water Pressure Level in Your System
High pressure can make leaks worse when working without a shut-off. Grab a pressure gauge and check your supply line.
If it’s above 500kPa, you might face bigger bursts, so hold off and call professionals like us instead.
Add a Temporary Seal to Reduce Immediate Leaks
Use a rubber band or cloth to bind over the tap nozzle or visible leakage point. This limits the splatter while keeping the system flowing, giving you a shot at a clean repair.
Place Towels and Buckets to Collect Water During Repair
No one wants surprise puddles. Towels under the sink and a bucket to catch drips can prevent wet floors and ruined cabinets.
It makes staying dry in a wet fix possible.
Avoid Electric Risks Near Sink Areas
Switch off nearby power points. Even a light drip can travel through cords or appliances and cause more than sparks.
Your safety matters more than a hurried repair.
Common Reasons Why Your Tap Is Leaking
Every leak has a culprit. The small parts inside your tap wear down quietly until one day they can’t hold back anymore. Knowing what’s likely broken helps target the repair smartly.
O-Ring and Washer Deterioration
Rubber rings and washers take a constant beating from pressure and friction. Eventually, they split or crumble.
At that point, water finds its way through - making endless drips inevitable until replaced.
Cartridge or Valve Seat Corrosion
If your tap squeaks or turns roughly, corrosion might be eating away at your cartridge or valve seat. Metal parts erode over time, letting water sneak past the seal points.
Loose Tap Handles and Connections
Handles that wobble aren’t just annoying - they allow hidden leaks near the base of the tap spout. Tightening or replacing internal screws could restore the seal completely.
Worn Out Seals or Rubber Components
Inside your faucet are soft seals pressed against water pathways. Once these harden or warp, leaks tend to follow. They’re cheap to replace but often overlooked until a leak shows.
Tools and Parts Needed for On-the-Spot Repairs
Nothing’s more frustrating than pulling your tap apart only to realise you’re missing one crucial part. Having everything nearby means shorter repair time and less mess under the sink.
Basic Toolkit: Wrenches, Screwdrivers, Pliers
These three are non-negotiable. An adjustable wrench, flat and Phillips head screwdrivers, and needle-nose pliers make disassembly easier. You’ll need them no matter how new or old your tap is.
Replacement Items: Washers, O-Rings, Faucet Cartridge
Get parts that match your tap model. Even a slightly wrong O-ring might leak again faster than before. Always keep an assorted packet on hand just in case.
Sealant Tape and Silicone Grease
Thread tape helps stop leaks around joints. Silicone grease protects rubber parts and keeps things moving smoothly. It’s small detail work - but it holds the repair together.
Specialist Tools for Tap Valve Repair
Valve reseaters and tap spanners help you work around water pressure without extra strain. We use these often in tricky spot fixes across Townsville jobs where water shut-offs aren’t ideal.
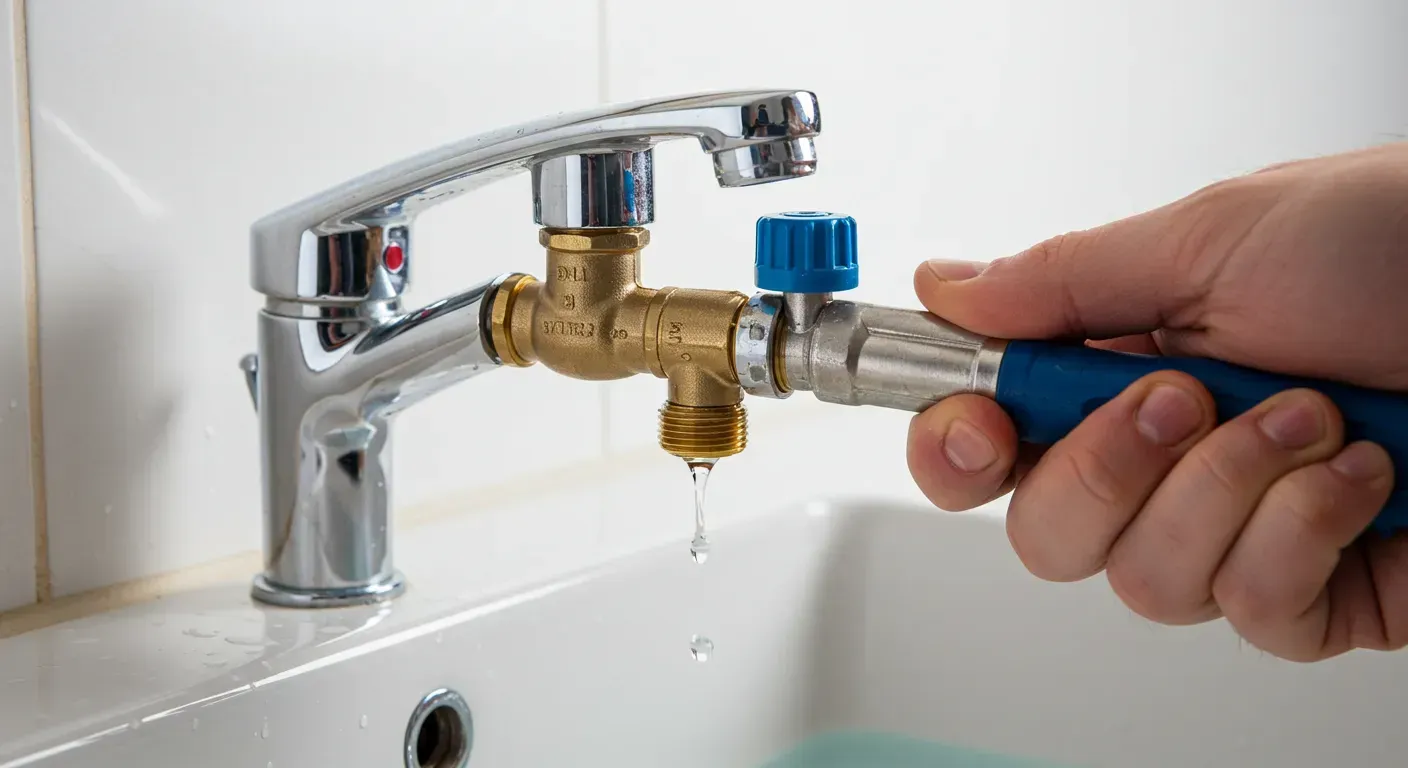
How to Fix a Leaky Tap Without Turning Off the Water?
Yes, it's possible - but timing and calm hands are everything. If water’s still running, you’ve got one shot to do it right without surprises or extra cleanup.
Create a Controlled Flow Using Tap Isolation Technique
Turn the leaking tap slightly on to narrow the pressure stream. This balances water flow enough to work without turning it completely off. Don’t open too wide - just enough to keep water steady but manageable.
Loosen Tap Assembly with Water Flow Maintained
Holding down pressure, gently unscrew the tap headpiece. Expect a trickle, not a flood. Don’t pull too fast or rough - or things get wet fast.
Replace Damaged Components One at a Time
Switch washers or cartridges quickly. Have parts unwrapped and on standby before removing anything. Minimise the time the internal pipe is exposed to reduce splash risk.
Reassemble and Test for Drips Under Pressure
Close the tap, wait five minutes, and inspect for moisture. Apply sealant tape on threads before tightening if needed. Re-test the open flow slowly to confirm everything holds steady.
Repairing Specific Tap Types Without Water Shut-Off
Each tap variety has its own puzzle. Knowing which type you're handling changes how the repair should go. That’s why we always inspect first to match the methods to the setup.
Compression Taps: Replace Seat Washer and Refit Valve
Turn the spindle gently, replace the flat washer at its base, and reseat using pliers. Watch for tiny cracks in the brass seat - one hidden flaw causes repeat leaks.
Mixer Taps: Replace Cartridge While Maintaining Pressure
Secure the handle upright, remove the cover cap, and extract the ceramic cartridge quickly. Be precise - these mixers regulate both hot and cold, so alignment matters.
Ball and Disc Taps: Swap Seals and Springs Quickly
Use an Allen key to access the ball assembly. Replace the neoprene seals and tension springs without scratching the cavity. You’ll feel resistance once correctly in place - and that means a sealed tap.
Wall-Mounted Taps: Access and Replace O-Rings Efficiently
If it connects inside tiles, avoid harsh pulling. Twist out the spindle assembly, replace rings, then fit with slight silicone grease. An uneven seal here pushes leaks behind the wall, so be cautious.
Addressing Recurring or Persistent Leaks
If the drip keeps returning, there’s more to it. Townsville’s hard water and older plumbing often mask bigger issues that need more than quick fixes.
Diagnosing Deeper Tap Valve Issues
Leaks sometimes stem from worn valve seats or cracked tap bodies. We use thermal imaging to diagnose these accurately. Catch it early before damage spreads under tiles or cabinetry.
When to Contact a Licensed Professional
If repairs don’t hold or water gushes during your attempt, call us. We’re always on standby across Townsville - 24/7 emergency response means your floors stay dry.
Preventative Maintenance to Avoid Repeat Repairs
Replacing washers twice a year helps, but professional inspection once yearly ensures no silent drips. We notice things hidden deep in the plumbing thanks to years of hands-on experience.
How to Adjust Water Pressure After Small Repairs
Too much pressure shortens seal life. Adding a pressure-limiting valve can stabilise it around 500kPa. Townsville homes often need this after line upgrades or appliance installs.
Tips for Preventing Future Leaky Taps
Small habits save big dollars down the track. Protecting your tap fittings can mean fewer emergencies and surprises.
Avoid Over Tightening Tap Handles
Going too tight wears seals and saddle points. Turn gently until the flow stops - don’t crank. Your tap will thank you later.
Schedule Regular Seal and Washer Inspections
Choose two months in the year to check under each sink. Early signs mean quicker, cleaner fixes. We offer seasonal tune-ins if you prefer an expert’s eye.
Install Pressure Regulation Devices
Especially for double-storey homes, uneven water pressure causes leak stress. We fit tested devices that balance both halves of the system.
Keep Tap Components Lubricated and Clean
Light silicone grease keeps ceramic discs smooth and effective. Don’t use petroleum jelly - it harms seals over time. Stick with plumber-approved products.
FAQs
Can You Really Repair a Tap Without Stopping the Water Flow?
Yes. But you’ll need precision, speed, and the right tools. We do it daily in emergency cases - and safely too. If you’re unsure, we’re just a call away - day or night.
What If Water Keeps Flowing After the Repair?
You might’ve missed sealing the thread or fit the wrong washer size. Shut off the water quickly and call us. We’ll inspect and handle it using non-invasive methods.
Is There a Temporary Fix Until Spare Parts Are Available?
Yes. Wrapping tape around the spindle or covering the nozzle drip with rubber and clamps can help for a day or two. We can also supply parts from top brands like Caroma or Rheem - fast.
How Long Should a DIY Fix Last Before Calling a Plumber?
If it leaks again within a week, the issue wasn’t fully solved. Repairs done by our licensed team, using tested materials, can last years - even under heavy daily use.
Stop the Drip Without the Drama
Turning on your kitchen tap shouldn’t trigger frustration. A simple upgrade can bring instant relief and daily ease.
No more wrestling with separate hot and cold - now it’s just smooth control at your fingertips.
Once the mixer tap is in, everything just works better - cleaner lines, easier washing up, and a happier kitchen space.
It’s a quick change with a big impact that saves time and gives back comfort to your routine.
At Convenient Plumbing Services, we make tap installation easy, clean, and stress-free for every home in Townsville.
Reach out today and let’s sort your tap troubles for good.